
September 26, 2025
Accidents and wear-and-tear can leave vehicles with unsightly dents, damaged sills, and compromised aesthetics. For car owners in Boise, Idaho, getting vehicles repaired professionally and efficiently is a top priority, especially when safety and appearance are at stake. This guide, inspired by a detailed video about repairing an Audi A1, will walk you through the process of restoring dents and repairing sills with body filler, offering insights into techniques, tools, and best practices for achieving a professional finish. Whether you're simply curious about the process or considering repairs, this article sheds light on how skilled technicians restore vehicles to their former glory.
Before delving into the step-by-step process, it’s crucial to understand the key components involved in repairing dents and damaged sills. The repair process typically involves removing affected paint, pulling out dents, applying filler, sanding, priming, and painting. Each step requires precision, patience, and the proper tools to ensure a smooth and long-lasting result.
Sills are structural components located beneath the doors of a vehicle. They provide critical support to the car's frame and play a significant role in its overall integrity. Damaged sills can compromise the car's safety, allowing rust and corrosion to spread. Repairing them properly not only restores appearance but also protects the vehicle from long-term damage.
The first step in any repair is proper preparation. To ensure the filler adheres properly, it’s essential to strip the paint down to bare metal. Here's how this is achieved:
In the video, the technician highlights the importance of safety when working with fillers - a good mask is essential to protect against harmful fumes.
Before applying body filler, it’s vital to pull out the dents as much as possible. For this, a weld-on spot dent puller was used to restore the shape of the metal. Once the dents were pulled, a harder metallic filler was applied over the welded areas to build a sturdy base. This is especially important for sill repairs, where structural strength is paramount.
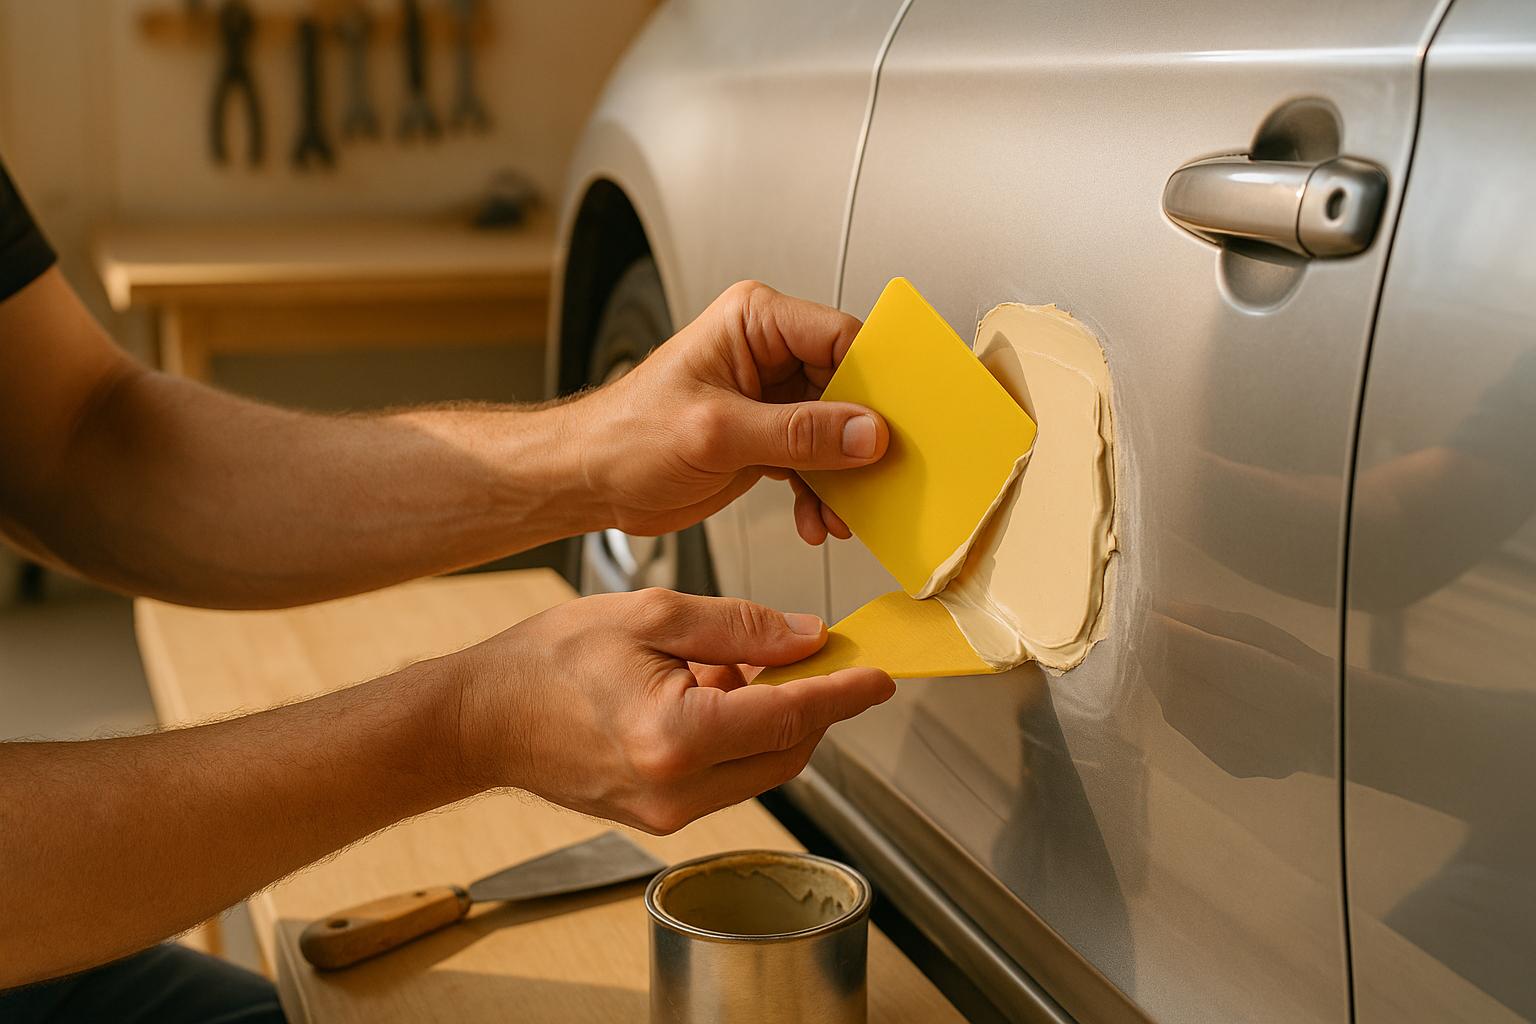
Once the surface is prepped, the next step is applying a deep-dent filler (such as U-POL Dolphin filler mentioned in the video). Here’s how to ensure a smooth application:
Sanding the filler is a meticulous process that ensures the surface is smooth and ready for painting. The technician in the video used the following tools and techniques:
Once the filler work is completed, priming is the next step. The primer acts as the foundation for the paint and provides a smooth, consistent surface. Techniques used include:
Painting requires skill and the right tools. In the video, a premium Anest Iwata LS400 spray gun was used for the base coat. The technician layered the paint meticulously, drying each layer slightly with the spray gun's air function before applying the next.
For the final clear coat (lacquer), a WS400 spray gun with precise settings was used:
Once the paint dried, the technician reassembled the car, carefully refitting the door, trim, and mirror. Additional protective steps, such as applying wax oil inside the sill, were taken to prevent future corrosion. These final touches ensure the car is not only visually appealing but also protected for years to come.
For vehicle owners in Boise, Idaho, understanding the detailed steps involved in body repairs can help them better evaluate the quality of service offered by repair shops. Whether you're dealing with a minor dent or significant sill damage, the process described above emphasizes the importance of preparation, precision, and attention to detail. By working with certified professionals or ensuring they employ these techniques, you can guarantee that your car is restored to both a safe and aesthetically pleasing condition. A well-repaired vehicle not only looks great but also ensures your safety on the road.
Restoring dents and repairing sills may seem like a daunting task, but with the right tools, techniques, and expertise, it’s possible to achieve professional results. Whether you’re a DIY enthusiast or someone looking for a trusted repair shop, this comprehensive overview provides valuable insights into what goes into bringing a damaged car back to life. By prioritizing quality repairs, you can extend your vehicle's life, enhance its appearance, and gain peace of mind on every drive.
Source: "Car Body filler | Huge dent and sill repair on the Accident damaged Audi A1" - Supercarlsunday, YouTube, Aug 3, 2025 - https://www.youtube.com/watch?v=iINpilsbvJg
Use: Embedded for reference. Brief quotes used for commentary/review.
