
September 26, 2025
For vehicle owners, a damaged car bumper can often be a source of frustration. Whether it's from an accident or everyday wear and tear, restoring a bumper to its original condition requires precision, patience, and expertise. This guide, inspired by expert input, walks you through the intricate process of painting a car bumper, focusing specifically on the challenges of two-tone Subaru bumpers. We'll equip you with professional techniques, insights, and tips to ensure a flawless finish every time.
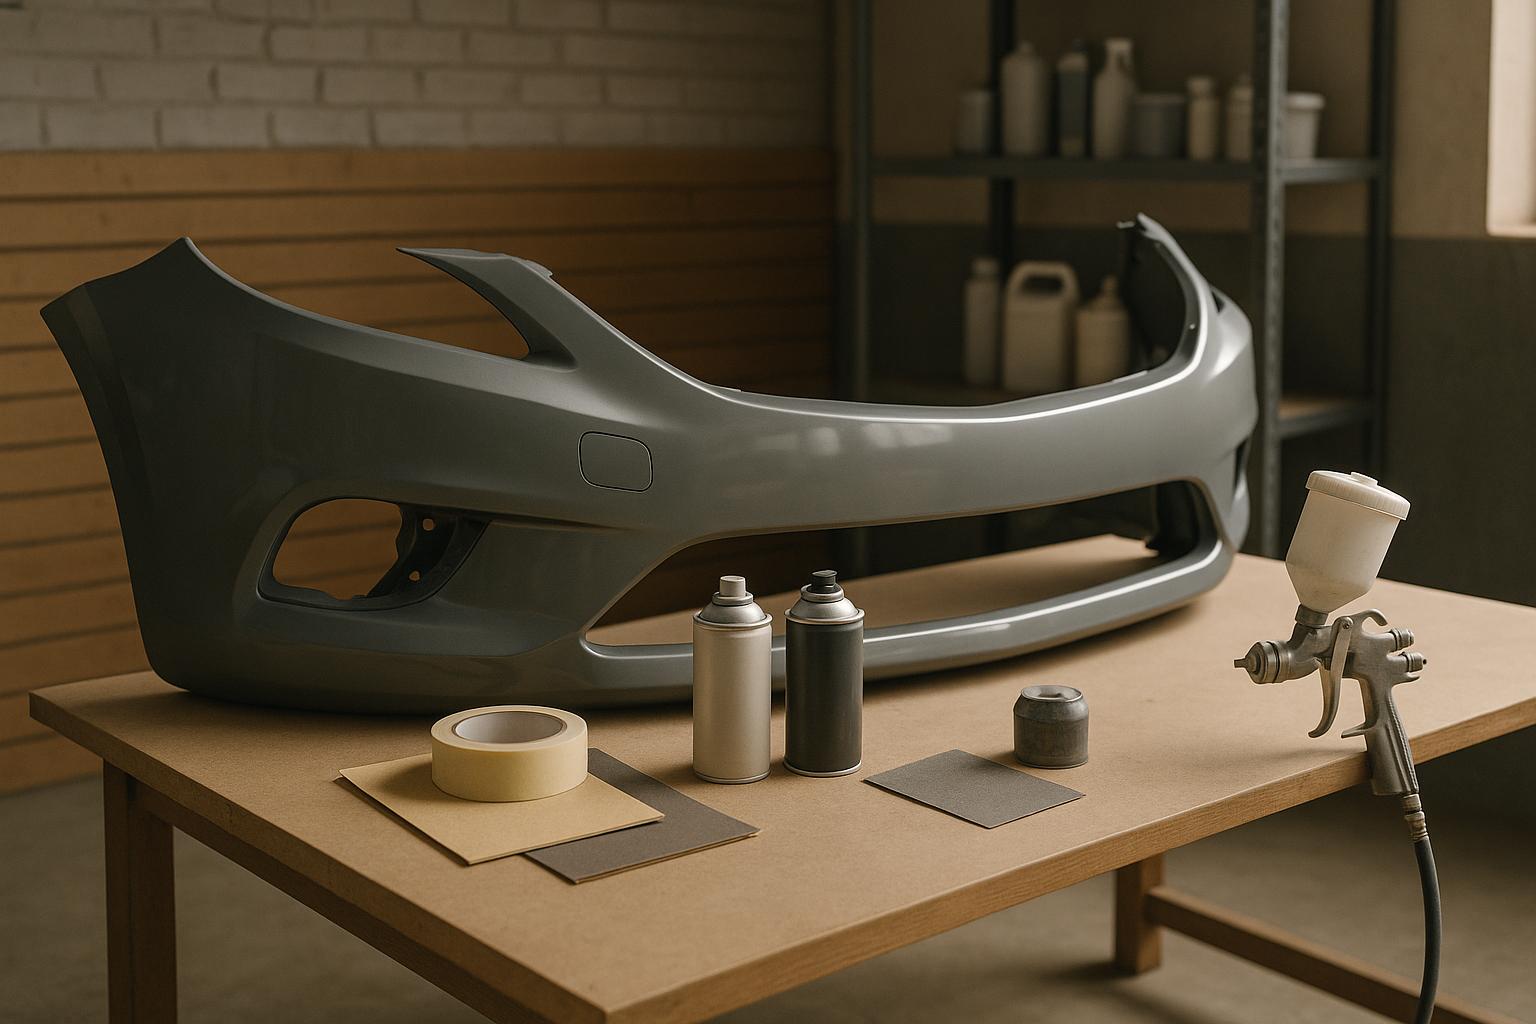
Painting car bumpers, particularly two-tone designs like those found on many Subaru vehicles, presents unique challenges. Unlike standard bumpers, these often feature textured finishes combined with smooth, painted sections. Furthermore, many bumpers arrive as raw plastic, unprimed and shiny, adding complexity to the painting process. To achieve a professional look, meticulous preparation and layering of materials are essential.
Understanding these nuances is the foundation for achieving a factory-quality result.
When working with raw plastic bumpers:
For pre-primed bumpers, sanding the existing primer before painting is often sufficient.
Carefully masking the textured areas of the bumper is crucial to achieving a clean division between painted and unpainted sections.
Achieving a professional-grade finish requires multiple coats of paint and clear coat:
High-quality paint and materials are essential for durability and visual appeal. Avoid cutting costs on these supplies, as lower-grade materials can compromise the final result.
This step requires patience and precision to avoid ruining the painted surface:
Once the tape is removed, inspect the bumper for any imperfections. If necessary, touch up any areas where paint may have bled or edges are uneven. A sharp X-Acto knife can also be used to clean up fine details.
The X-Acto knife is a vital tool for precise scoring and clean tape removal. Good lighting and careful attention to detail are also crucial for achieving sharp, professional edges.
From paint to clear coat, using premium supplies ensures a long-lasting, durable finish. Low-quality products may save money upfront but can lead to peeling or fading over time.
Rushing through steps, particularly taping and scoring, can lead to costly mistakes. Take your time to ensure every detail is perfect.
A properly painted two-tone bumper is a combination of skill, precision, and quality materials. By following these steps and tips, you can achieve a professional, factory-original look that restores your vehicle’s appearance and value. Whether you're a DIY enthusiast or seeking out reliable auto repair services in Boise, Idaho, understanding the process ensures you can appreciate the craftsmanship and care that goes into quality bumper restoration.
Remember, as the video emphasized, "If you're not doing it right, you're not going to do it at all." Take the time to do it right, and the results will speak for themselves. Happy painting!
Source: "How To Paint A Car Bumper - Auto Paint Tech Tips" - D.I.Y. AUTO SCHOOL, YouTube, Aug 3, 2025 - https://www.youtube.com/watch?v=8zbzth3eztE
Use: Embedded for reference. Brief quotes used for commentary/review.
